¶ Introduction
This article provides step by step instructions to add the DEX Dashboard as an SSO app within Okta. Please follow the steps in this article in order. If you have questions email support@wyebot.com.
¶ Instructions
This guide was written using the Okta dashboard as of 11/25/2024 - future revisions may change the interface slightly.
- Log in to your DEX Agent dashboard. Navigate to the Users tab. Scroll down until you see SAML Authentication. Click the Add IdP button.
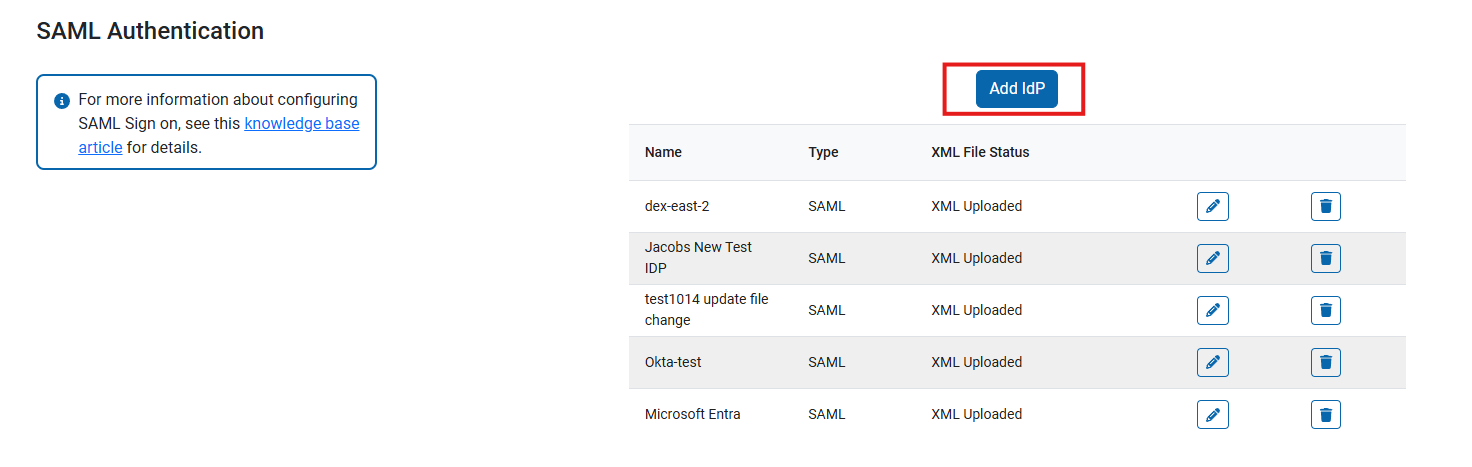
- Set the IdP Name field to your preference. Leave the rest of the options as default for now. Click Add IdP.
After this is complete, we will switch to the Okta configuration. Leave this browser tab open, we will return to it soon.

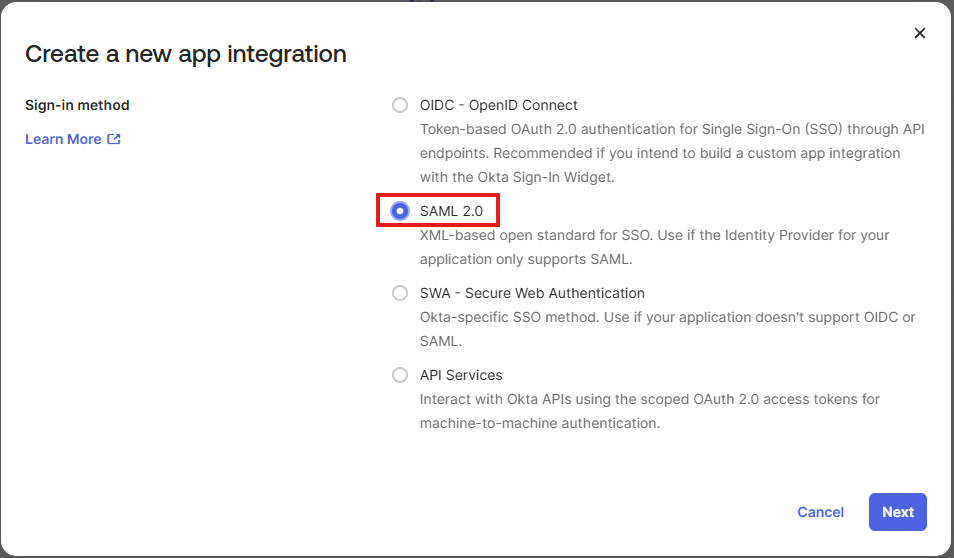
- In a new browser tab, log in in to your Okta Admin dashboard. On the left hand menu select Applications. Click on Create App Integration.

- In the pop-up menu, select SAML 2.0 and click Next.
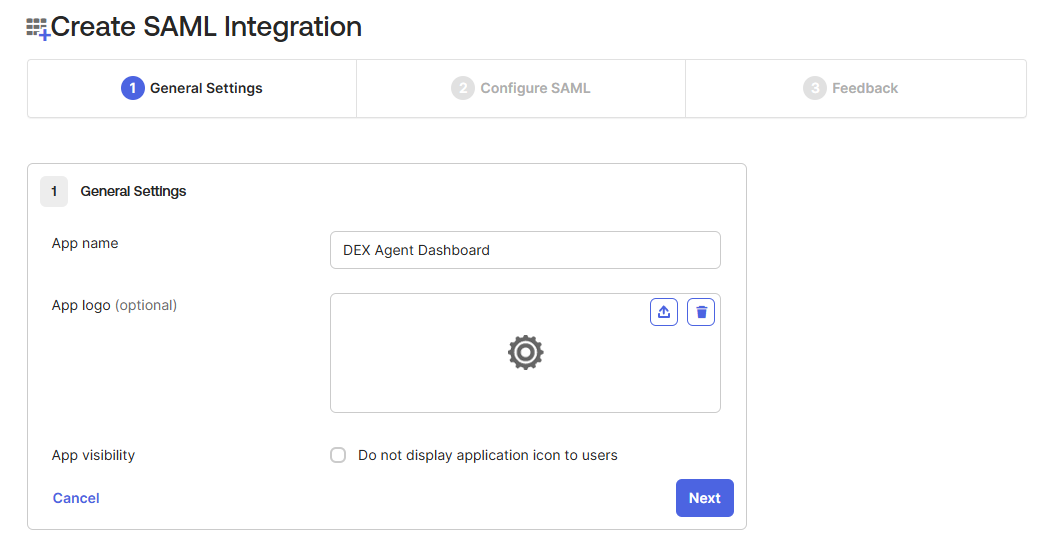
- In General Settings, add your App name. You may also add an optional icon image and change the App Visibility settings. When finished, click Next.
- We will now do the SAML Configuration. This step will require copying fields from the DEX Dashboard browser tab, and pasting those fields into the Okta Configure SAML page.
Return to the DEX Agent dashboard on the Users page. Find the IdP you added and click the Edit icon.
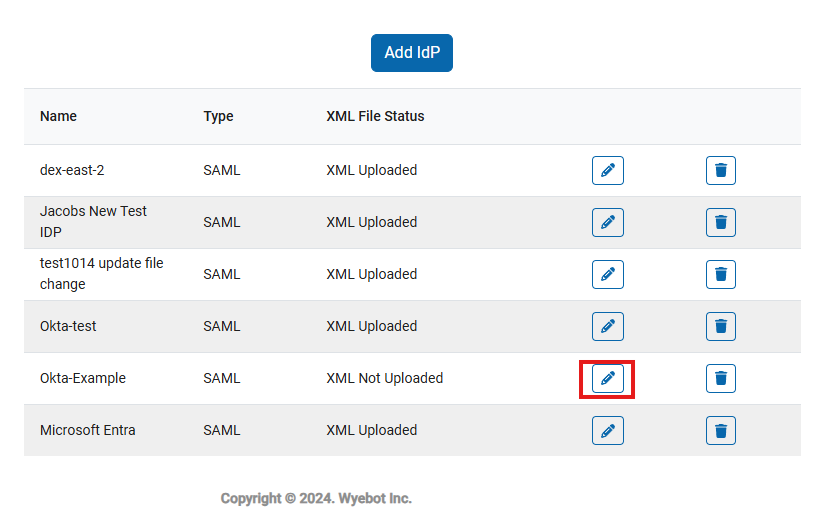
You will now see a SAML Configuration section, which has the fields you need to copy into Okta to complete the setup.
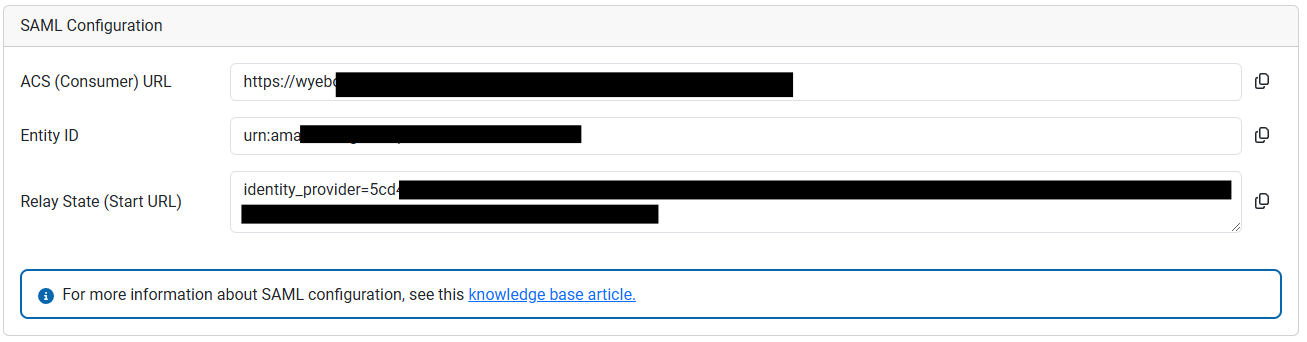
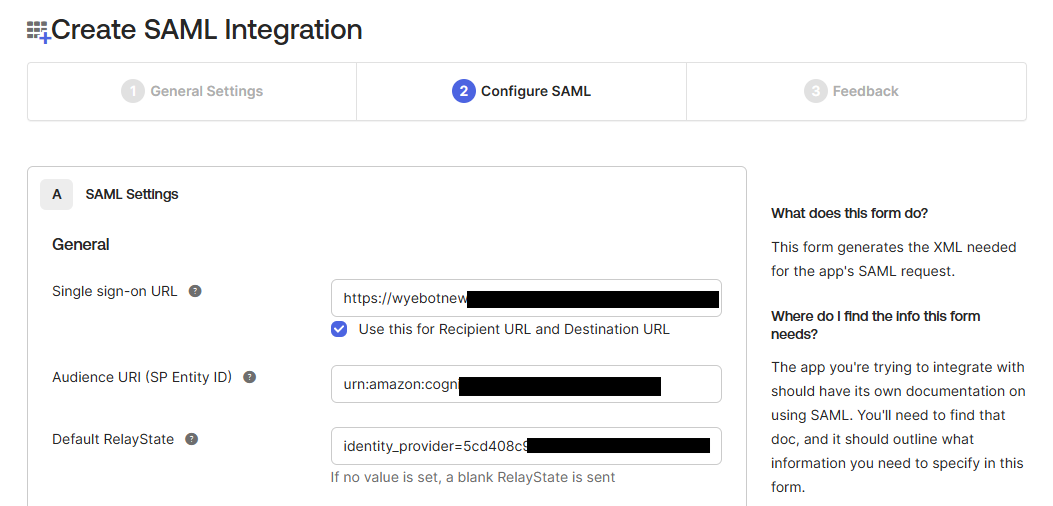
- Return to the Okta SAML Configuration page. Paste in the fields from the DEX Agent dashboard as follows:
| Okta Field | DEX Agent Dashboard Field |
|---|---|
| Single sign-on URL | ACS (Consumer) URL |
| Audience URI (SP Entity ID) | Entity ID |
| Default RelayState | Relay State (Start URL) |
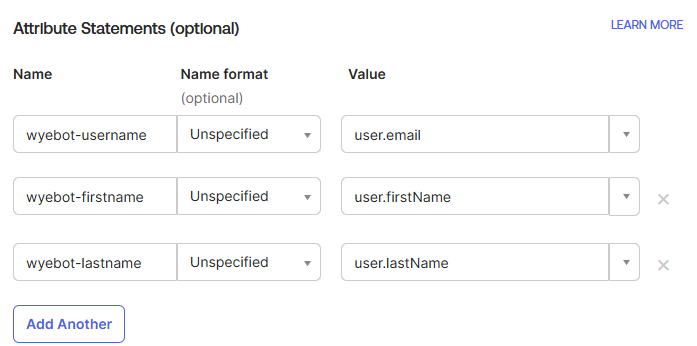
- The next step is Attribute Mapping. Under Attribute Statements add the following attributes:
| Name | Value | Name Format |
|---|---|---|
| wyebot-username | user.email | Unspecified |
| wyebot-firstname | user.firstName | Unspecified |
| wyebot-lastname | user.lastName | Unspecified |
-
When the previous steps are complete, click Next. On the Feedback page, just click Finish.
-
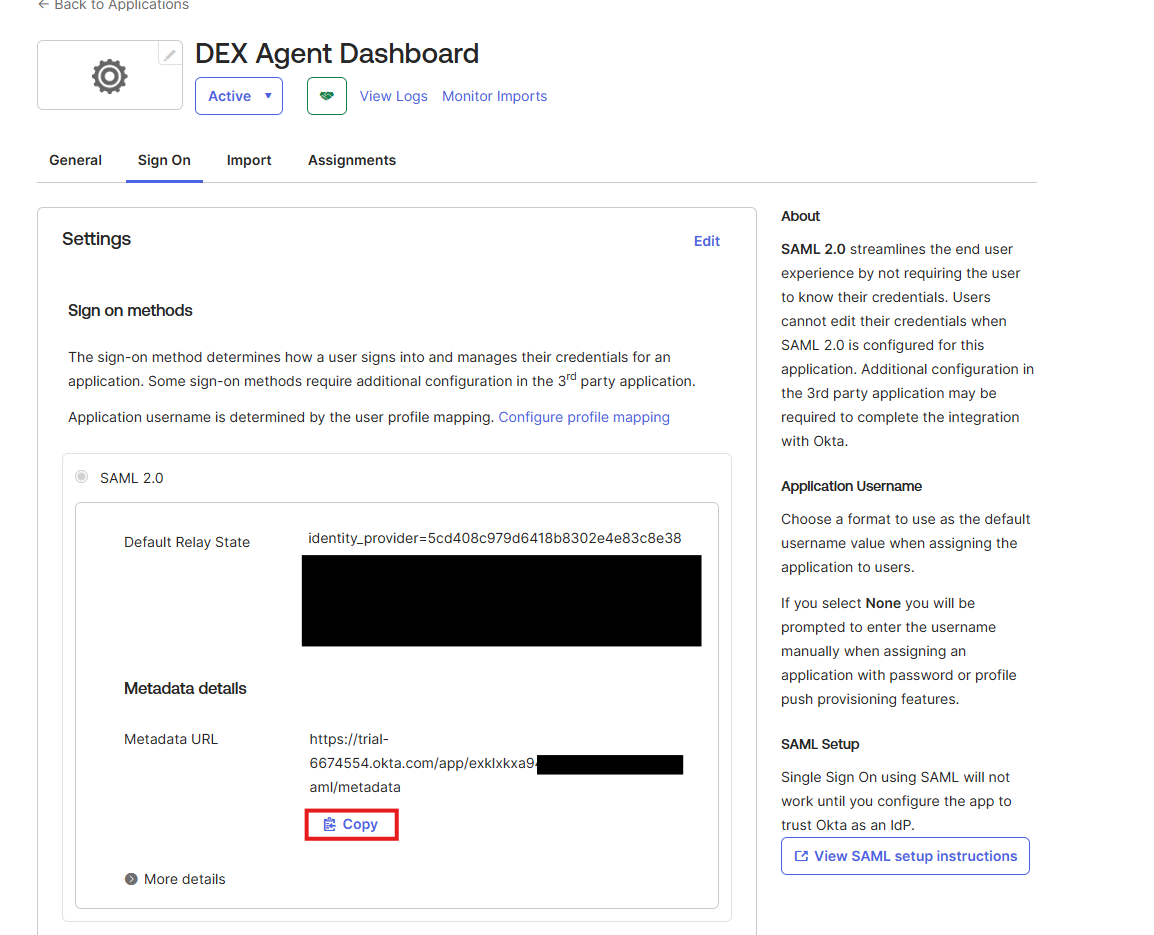
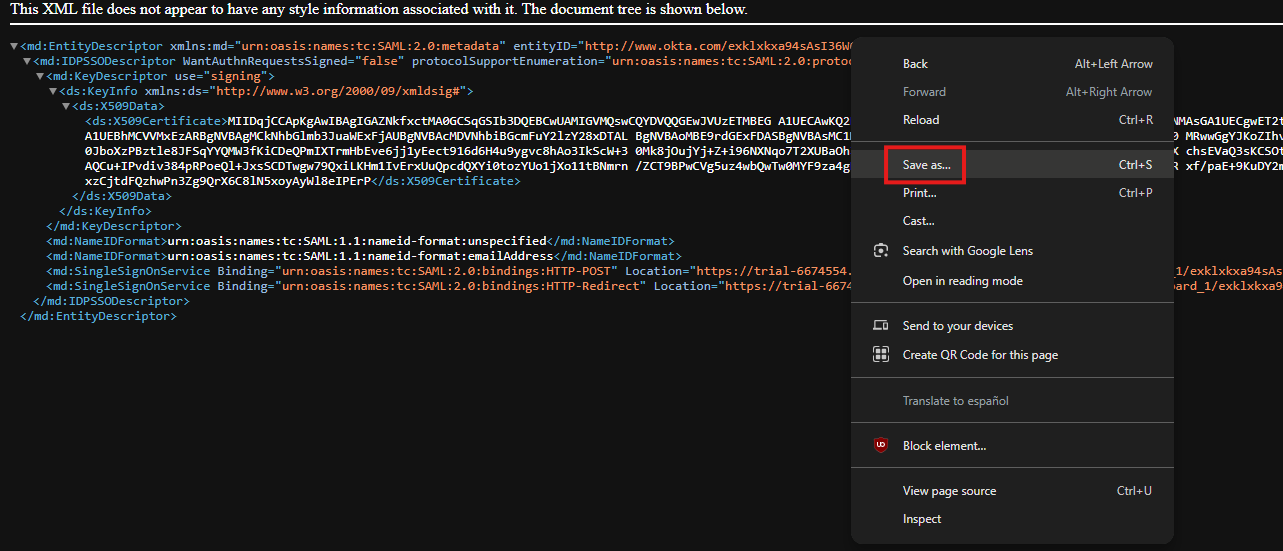
We now need to import the SAML Metadata from Okta into the DEX Dashboard. Okta provides a web link for the metadata, and we need to convert that into an .xml file. You should see a Metadata URL. Click Copy and paste it into a new browser tab.
- In the new browser tab you will see the XML data that we need to import to the DEX Dashboard. Right click anywhere on the web page and select Save as. Save the contents of the webpage as a .xml file.
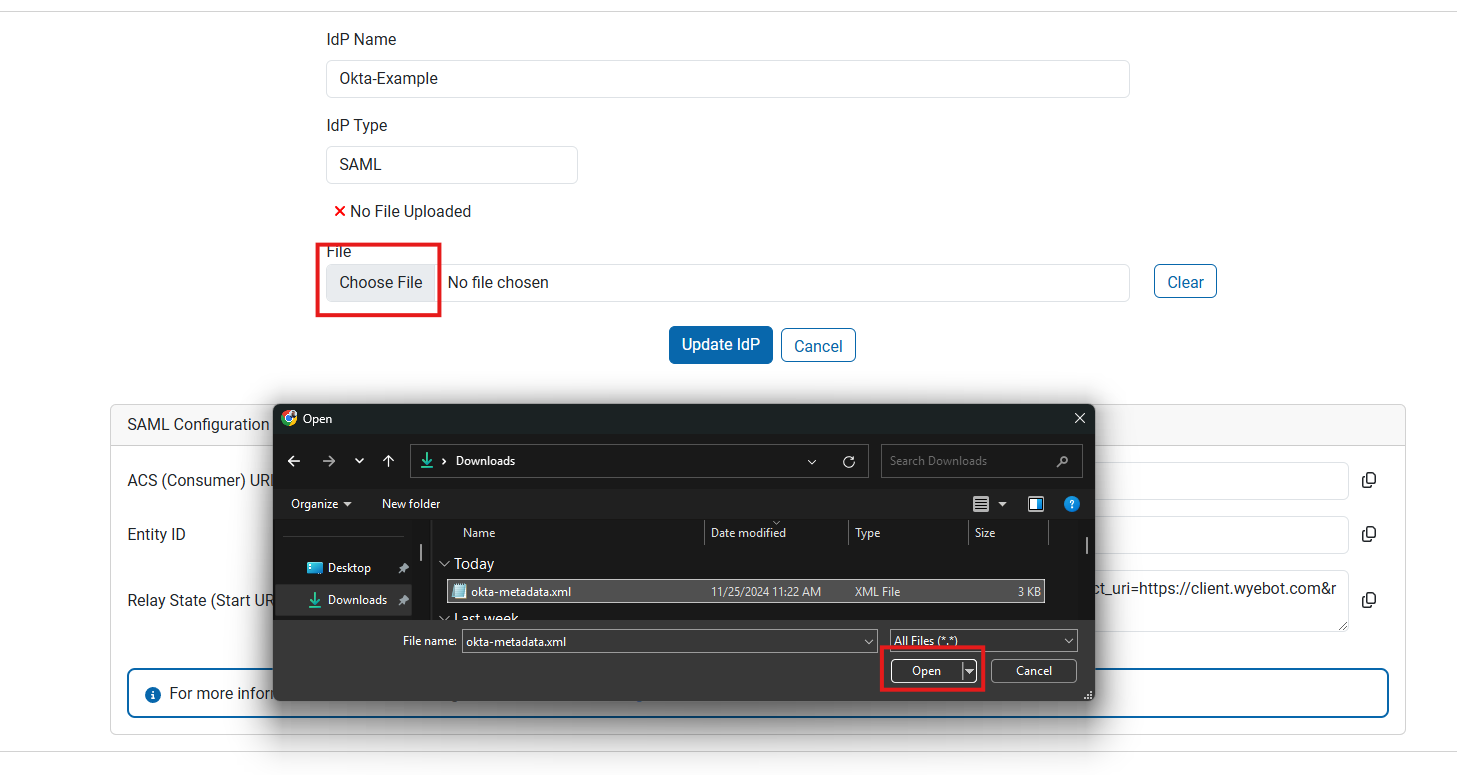
- Return to the DEX Dashboard and Edit your IdP. Select Choose File and browse from the .xml file you created. Click Open to upload the file. When finished click Update IdP.
After this step, the SAML configuration is complete.
¶ Assign users and test
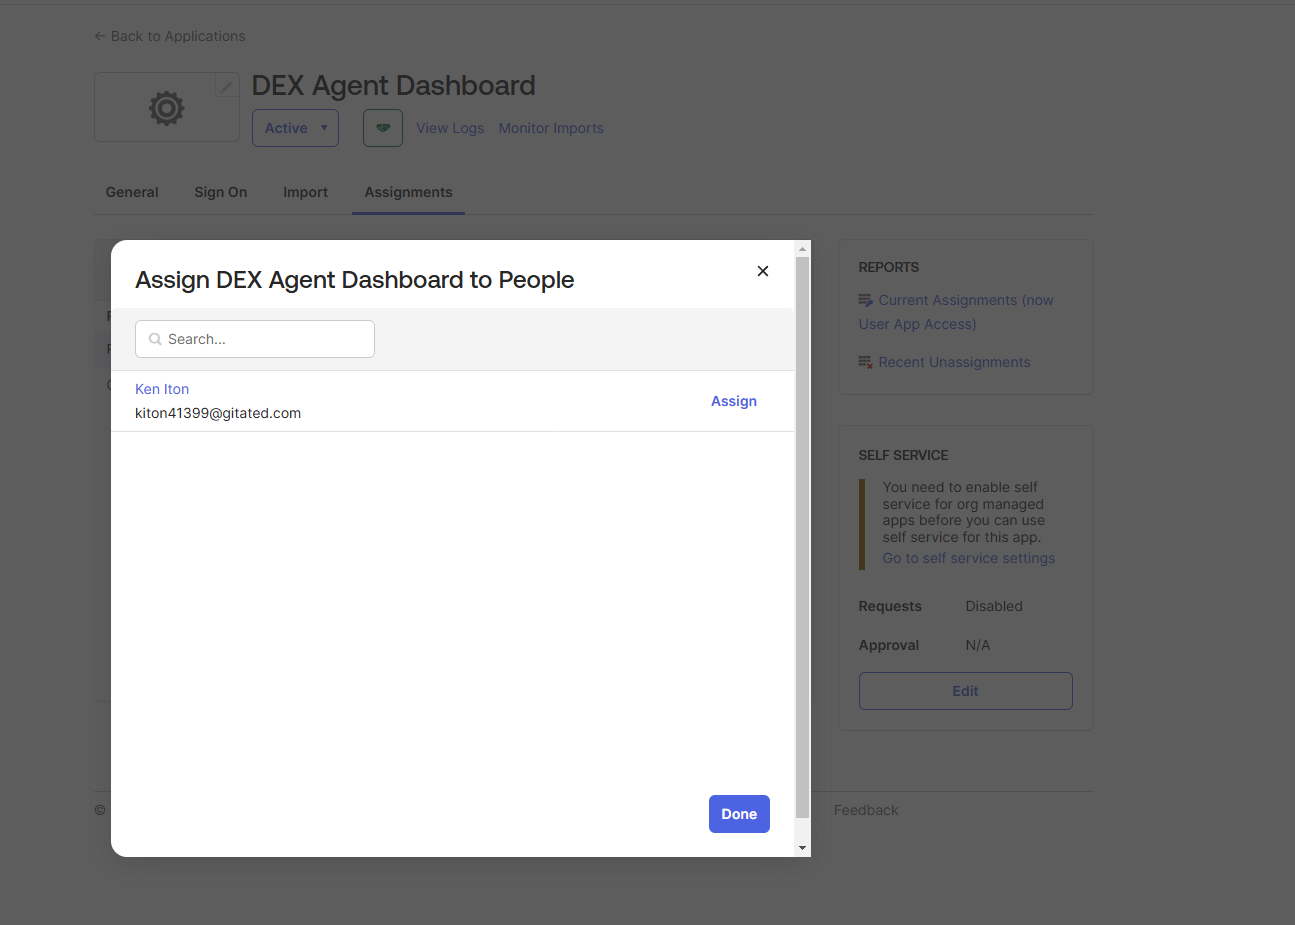
To finish this setup, simply assign the users within Okta that will access the DEX Agent dashboard.
- Within the Okta app configuration, go to the Assignments tab and add the users/groups which will access the dashboard.
- To test this, go to the end-user Okta dashboard and find the My Apps page. Click on the DEX Agent dashboard app that you created.
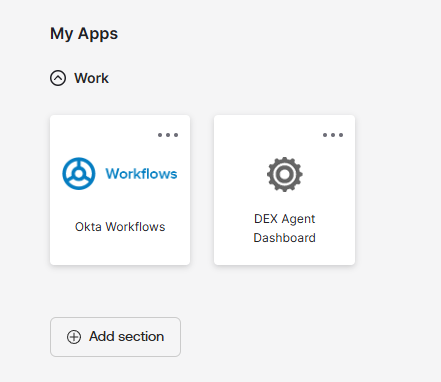
- If all setup was done correctly, your browser will automatically log into your DEX Agent dashboard. When logged into the dashboard, go to the Users page and you should find your Okta account listed with the Login Type as SAML.
