¶ Introduction
This document provides an overview of the steps required to configure your SSIDs within Wyebot.
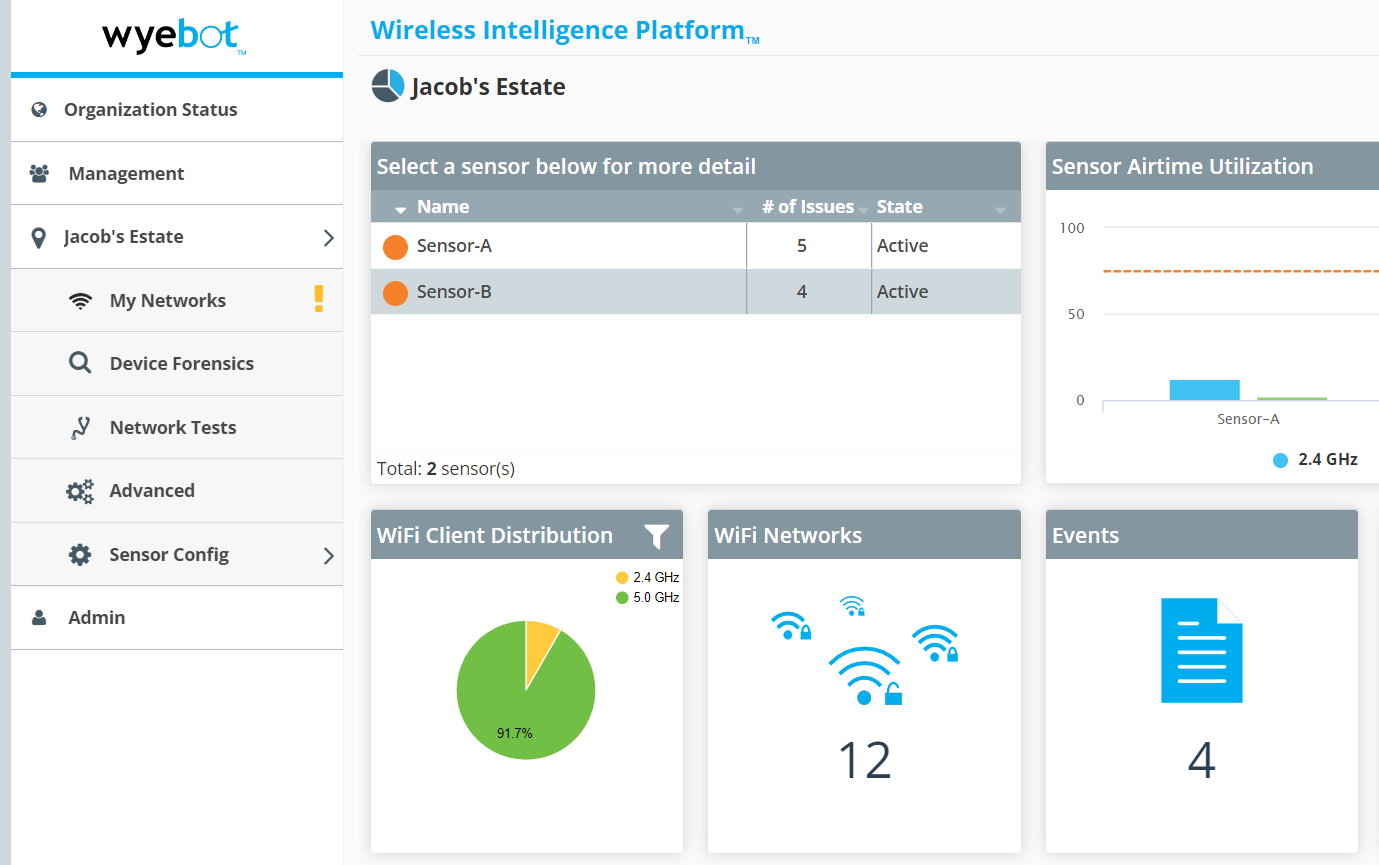
If you see a yellow exclamation mark next to My Networks, then this process still needs to be completed in your dashboard.
¶ Steps Overview
- 1. Select your SSIDs Tell Wyebot which SSIDs are from your system
- 2. Add Credentials Wyebot needs credentials to run network tests
- 3. ConfirmLocks in SSIDs and reboots the sensor
¶ Select Your SSIDs
The next step after getting your sensor online is to confirm which SSIDs it should pay attention to. Click the My Networks tab on the left nagivation menu to access the SSID configuration for that location.
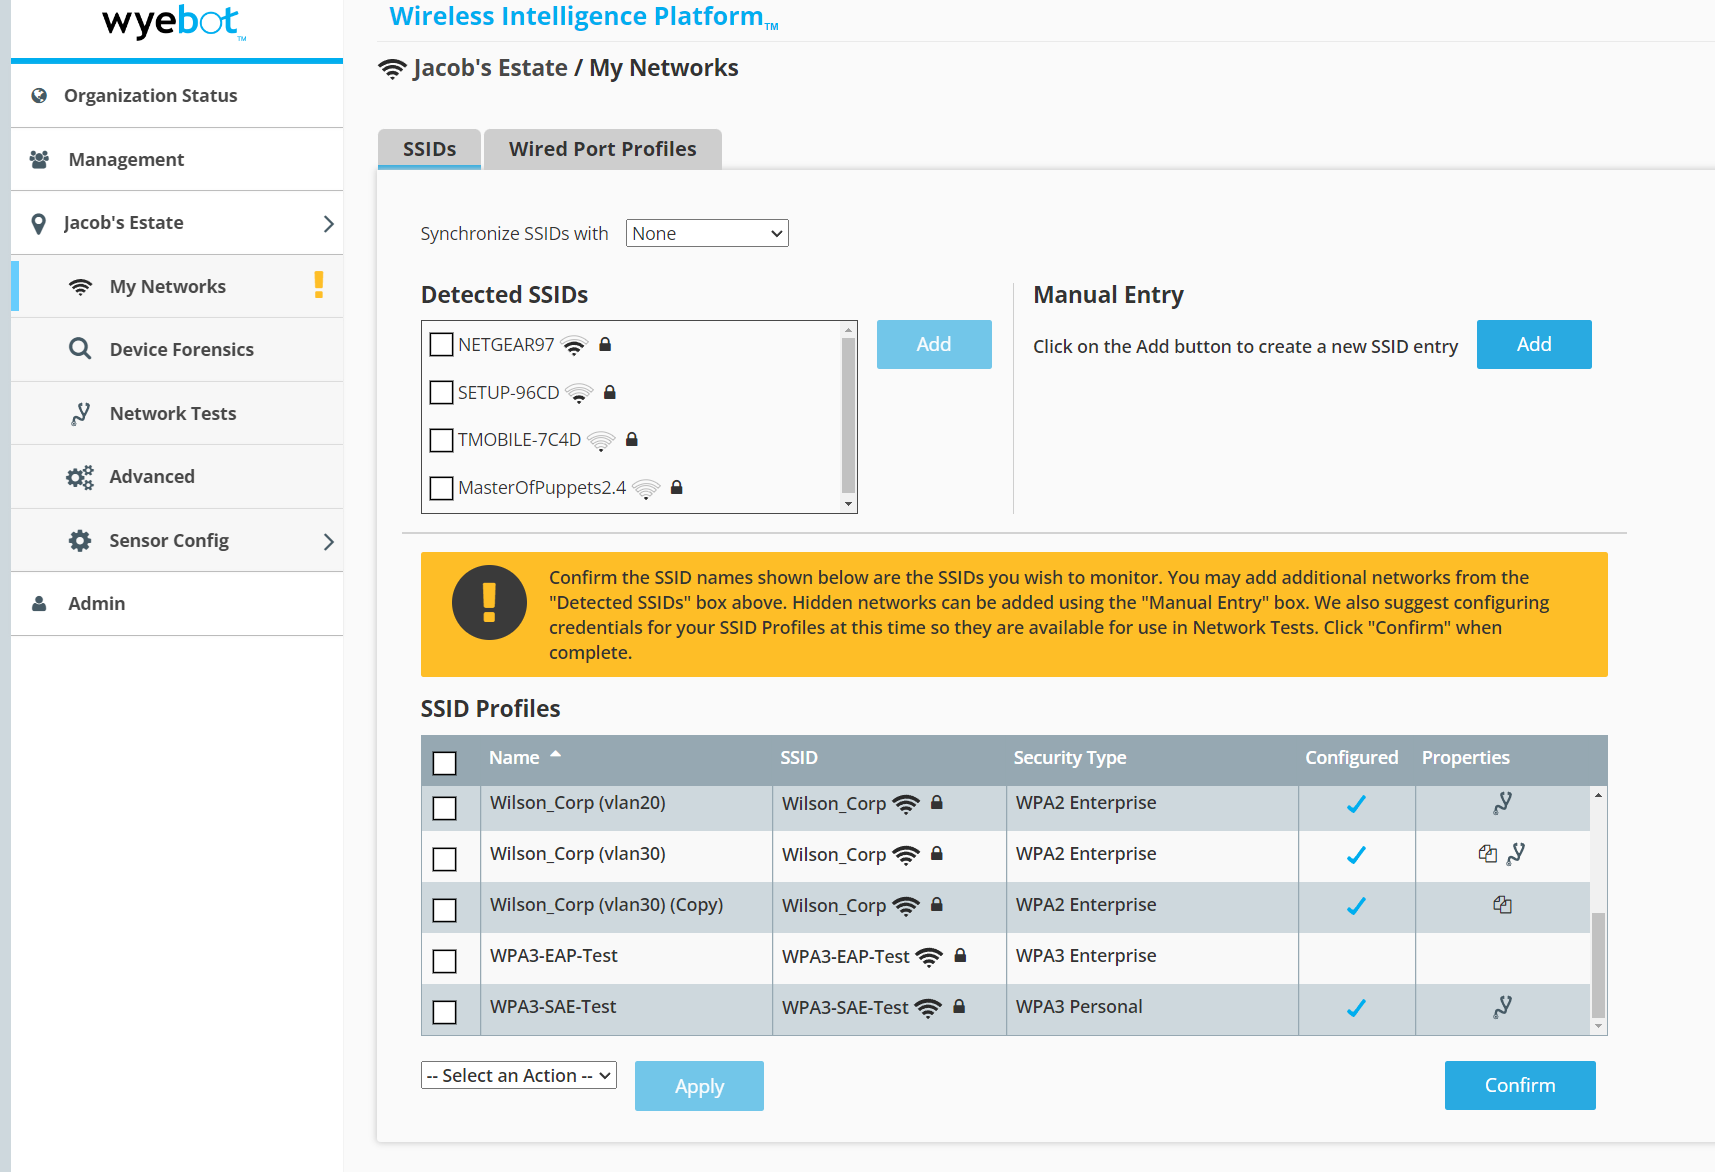
¶ SSID Profiles
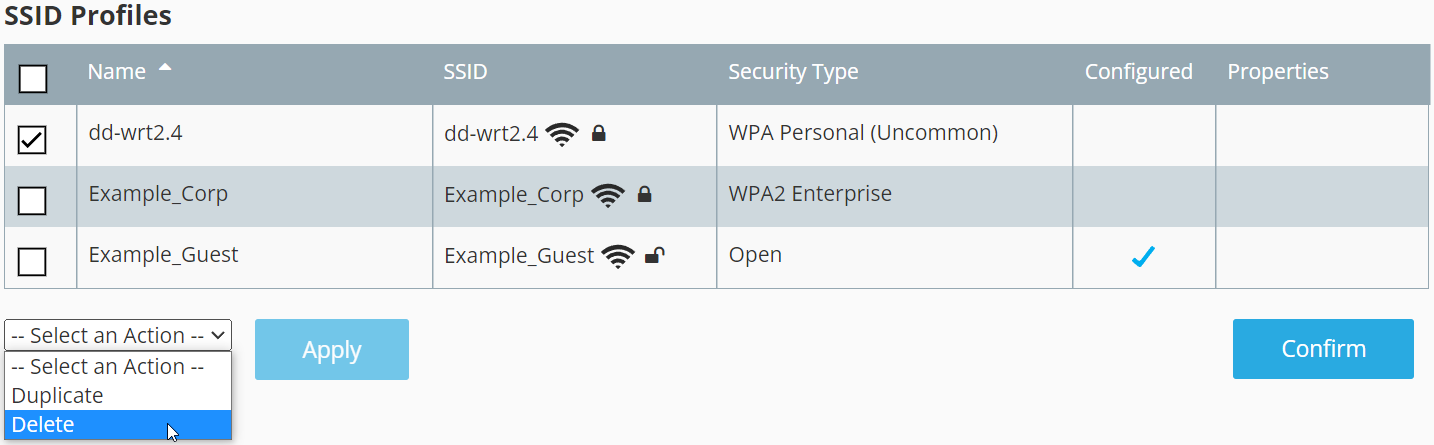
This is where you will see the list of currently configured SSIDs. Add any additional SSIDs with the Detected SSIDs or Manual Entry sections above. Wyebot will automatically populate some of the strongest SSIDs to make the setup process more efficient. If there are SSIDs in the list that do not belong to you, simply check the entry and select Delete in the action menu.
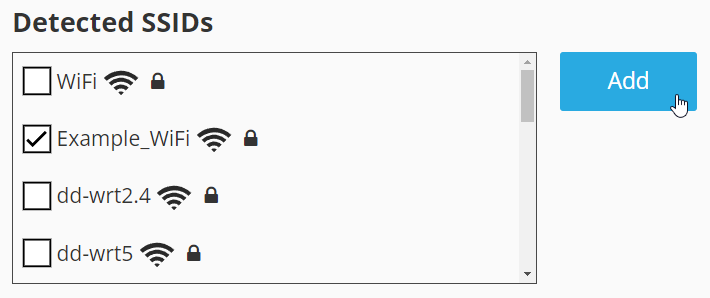
Check any SSIDs from you system and click Add to include them in the SSID Profiles.
This is intended to be used for hidden SSIDs and advanced configuration only.
Select the checkbox next to the SSID profile you would like to delete and use Delete in the action menu at the bottom.
¶ Add Credentials
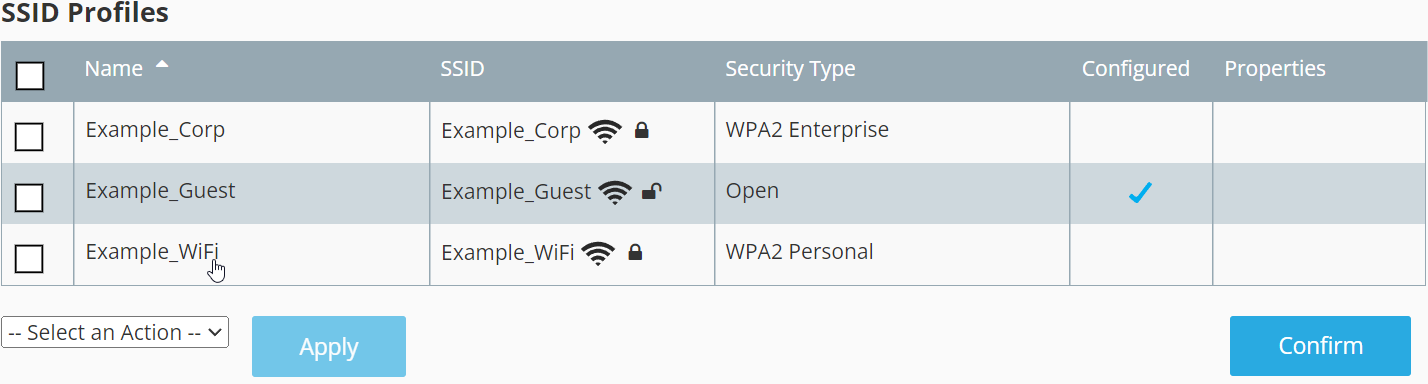
If you would like to run network tests against an SSID, Wyebot will need access to connect. Once completed, you will see a blue checkmark in the configured column for that SSID profile.
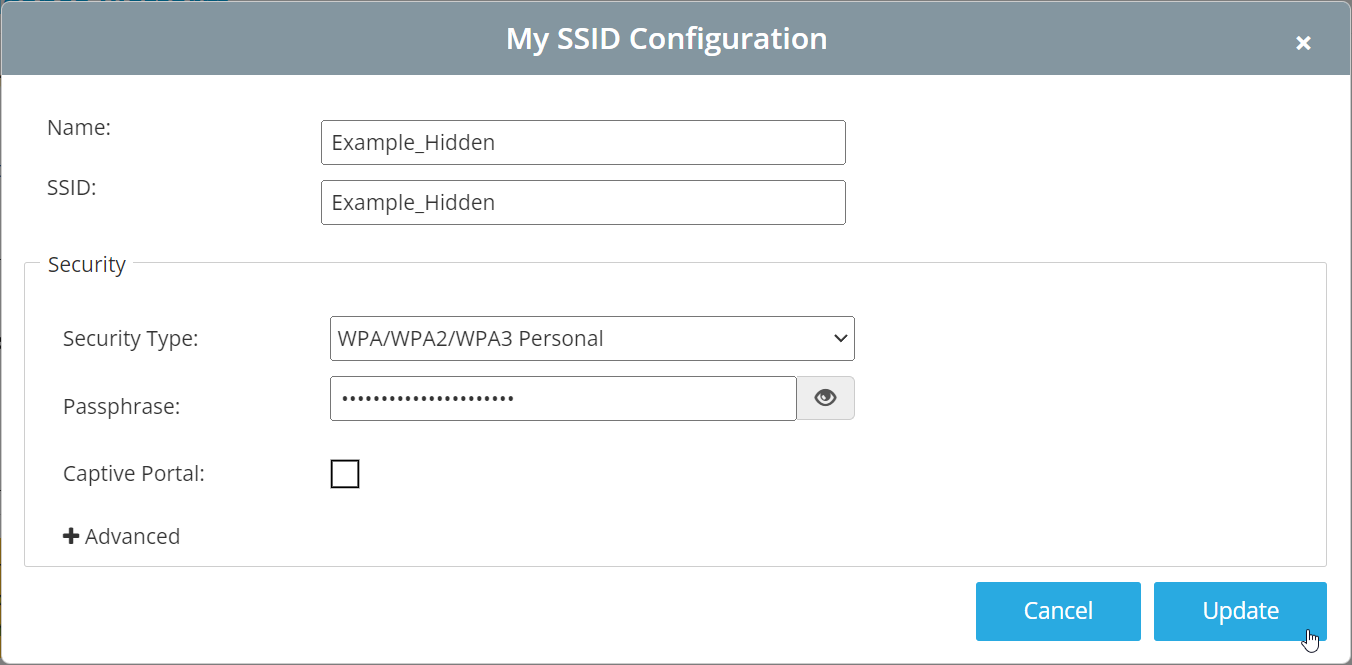
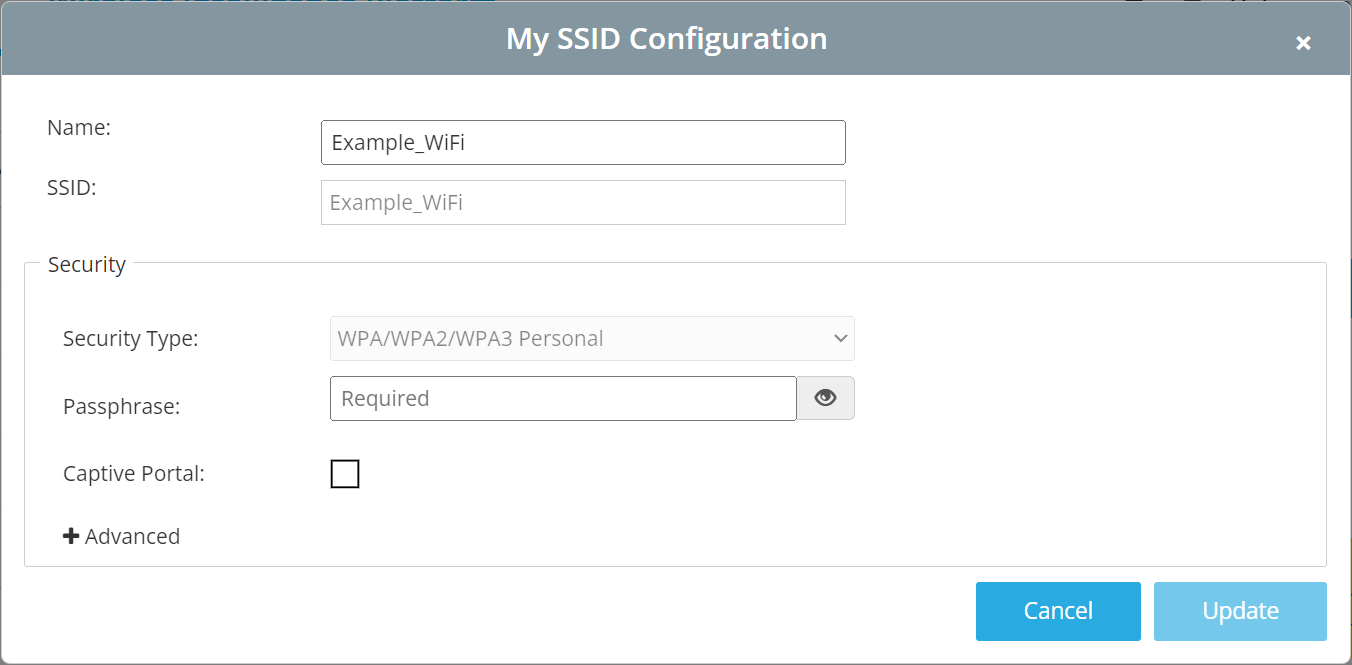
To add credentials for an SSID, click on the name of the profile and you will be shown the setup dialog.
This process is the same as it would be for a normal network client but the required information will differ depending on the SSID security type.
¶ Security Types
- WPA Personal WPA/WPA2/WPA3 Personal Secured SSID Setup
- WPA Enterprise WPA/WPA2/WPA3 Enterprise Secured SSID Setup (802.1x)
- Open Open and Captive Portal SSID Setup
- WEP WEP Secured SSID Setup
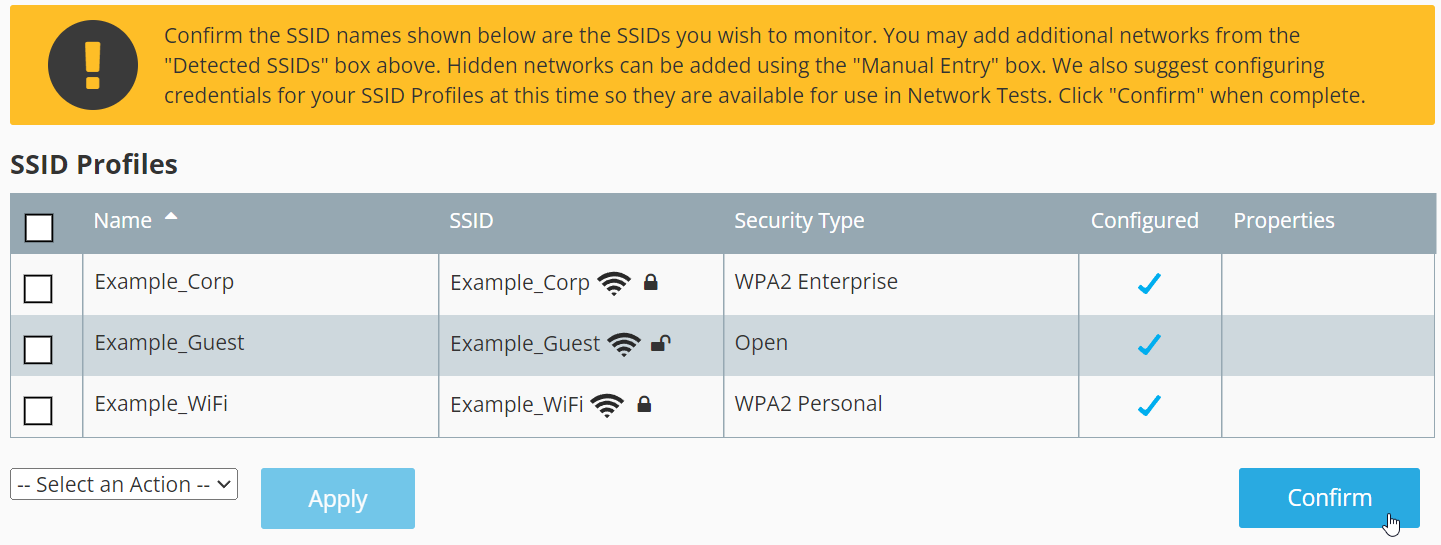
¶ Confirm SSIDs
Clicking the Confirm button will lock in the SSIDs and reboot the sensor to retune the radios accordingly. On your initial setup, you may see an optional Create Network Tests checkbox which will create the default suite of network tests. We recommend leaving this enabled if you have not used Wyebot before.