¶ Introduction
This article will explain how to create users on the Wyebot WIP dashboard. It will also explain the different user types and permissions.
¶ Instructions
This article will not explain SAML SSO integration. SAML SSO instructions are found in this article.
- All user creation must be done by an Admin user. To access user creation, navigate to Management > Users.
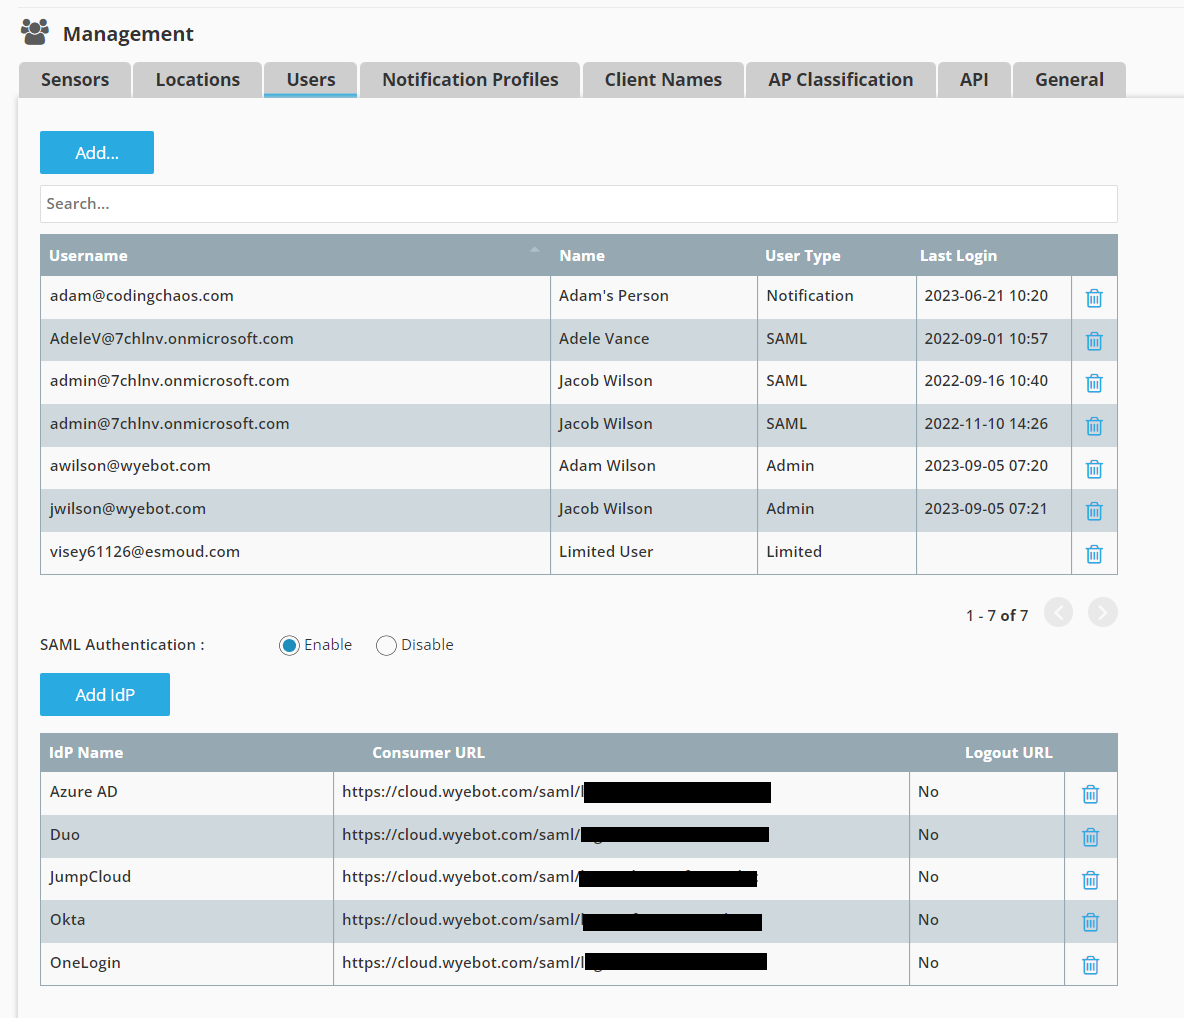
- To create a new user, click the Add... button.
-
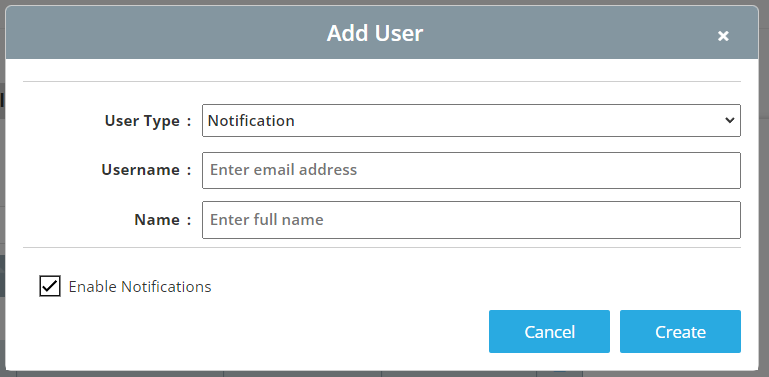
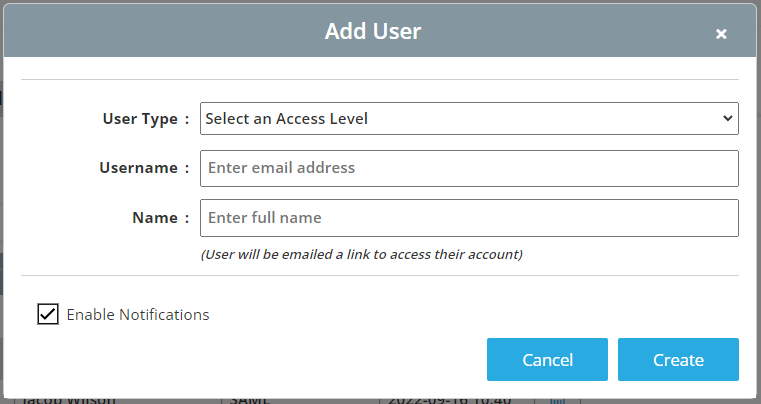
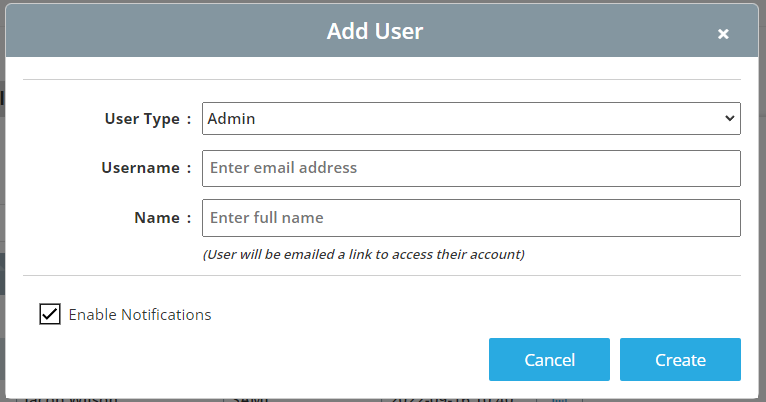
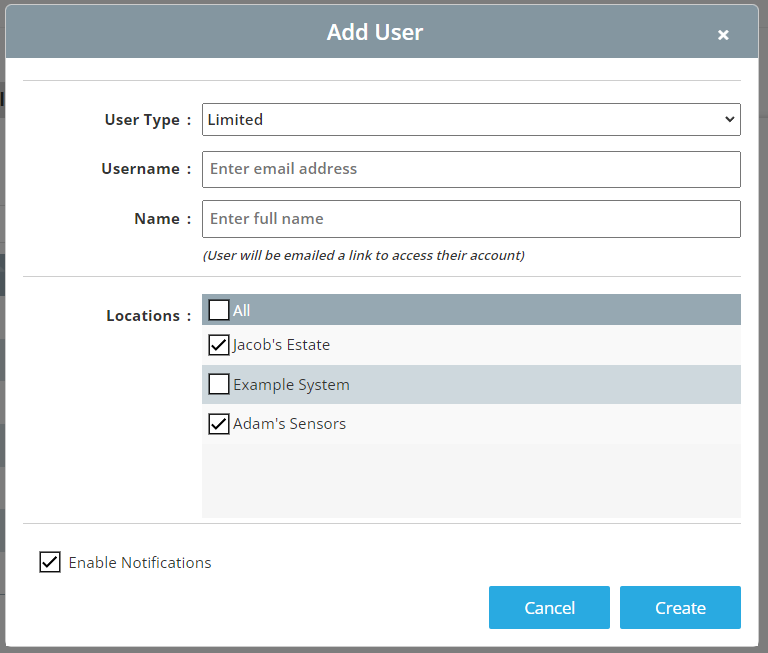
Select the correct User Type (Explained below). All users require a valid email address in the Username Field, and a name in the Name field. Use the Enable Notifications check box to allow the user to be selected to receive email notifications.
-
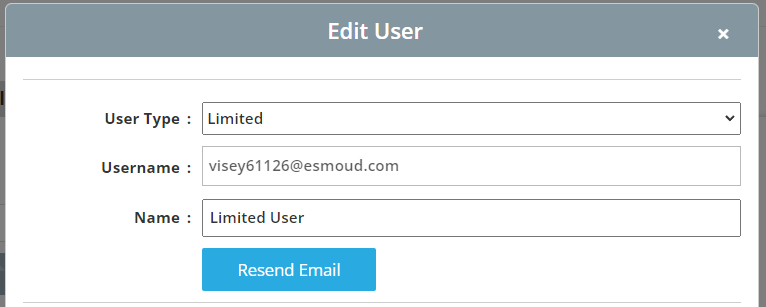
Once the fields are filled in, clicked Create. For Admin and Limited users, an activation link will be emailed where they need to set a password. After their password is set, they can log in via https://cloud.wyebot.com. If you need to resend the activation email, click on the user and you will see a Resend Email button.
¶ User Types
When creating a user, you must select the correct User Type for the permissions that user will have. The different User Types are explained below.
An Admin user will have full access to all features on the dashboard. This includes the contents of the Management tab, where features such as Locations, Users, and the API can be accessed. Only an Admin user can create or delete other users.
A Limited user can be restricted to only seeing data from specified Locations. A Limited user also can NOT access the Management tab, therefore they cannot configure Locations, Users, or API access.
A Notification user is a special user type which can ONLY be used as a target for email notifications. This user cannot log into the dashboard, and therefore will not receive an activation email upon creation to set a password.